Free Ground Shipping on Orders Over $49 Details & Exclusions Excludes Curb Side Delivery (LTL). Lower 48 United States Only.
Jul 11, 2014
How to Install Outdoor Wall Sconces
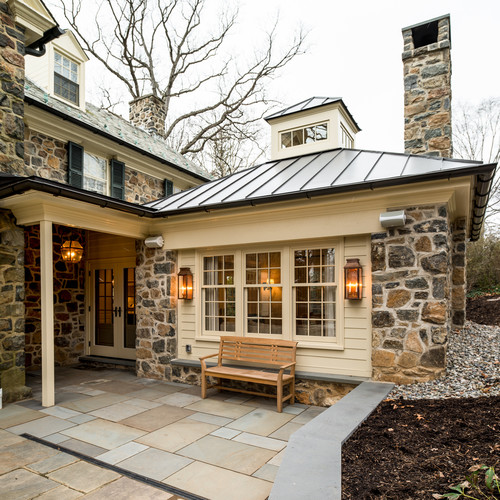
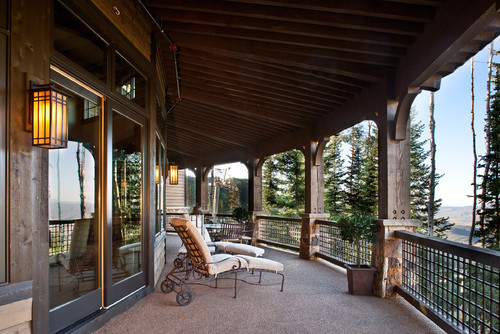
Exterior wall sconces not only add charm to your home but, more importantly, provide lighting to its exterior, such as decks or patios so homeowners can sit back and relax in their favorite chair and enjoy a good read outside their home on a nice evening. Outdoor wall sconces generally come with a rubber seal that is positioned between the light fixture and the wall to protect the electrical connections. When installing wall sconces, check if the light globes are open at the top as you will need to install these in a spot that is protected from rain or snow. Before you begin with this project, make sure you have the following tools handy:
12/2 Electrical wire
3/4-inch drill bit
Battery powered drill
Breaker
Electrical junction box
Electrical tape
Jig saw
Light switch
Light switch box
Light switch cover plate
Screwdriver
Wire cutters
Wire nuts
Wire strippers
Steps to Installing Outdoor Wall Sconces
Step #1:
In the exterior wall, drill a 3/4-inch hole where you plan to install the new exterior wall sconce. Put the electrical junction box against the wall covering the hole then trace around it. Use a jig saw to cut along the lines. Repeat this step for the light switch.
Step #2:
In the attic, locate the exterior wall where you cut the hole for the wall sconce. Drill a 3/4-inch hole through the top plate of that wall above the spot of the new light fixture.
Step #3:
Insert the electrical wire through the hole just long enough to reach the junction box cutout. Next, pull the remaining wire to the wall for the light switch, then drill a 3/4-inch hole in this spot. Measure the wire and with the wire cutter, cut a length long enough to reach the hole for the light switch.
Step #4:
Take one end of the wire that leads to the light and the other end of the remaining wire then insert them into the hole that leads to the light switch. Pull the remaining wire into the wall where the electrical panel is located.
Step #5:
Drill a 3/4-inch hole in the top plate of the wall the same way as the exterior wall. Wrap the end of the electrical wire with electrical tape then insert the wire into the electrical panel.
Step #6:
Go to the light switch cutout and pull the wire through the hole and then through the holes within the light switch box. Mount the box into the wall following the manufacturer’s instructions. Strip off about 3 inches from the electrical wire, revealing a white wire, a black wire, and a bare wire. Strip approximately 1/2-inch off the insulation from the white and black wires.
Step #7:
Hold the white wires next to each other, insert the ends into a wire nut, then fasten it down on the wires. Apply the same process with the bare wires. Fasten one of the black wires to one of the two terminals of the light switch and the other black wire to the other using a screwdriver. Secure the switch to the light switch box then mount the switch cover plate.
Step #8:
Strip the wires for the sconce light location as you did for the light switch. Connect the white wire from the light to the white wire from the electrical wire as you did with the light switch. Repeat this process with the black and ground wire. Wrap the wire nut connections with electrical tape, then place all the connections into the junction box.
Step #9:
Set the cover plate of the light fixture over the junction box. Align the screw holes with those on the junction box. Insert the screws provided with the fixture, then tighten the wall sconce fixture onto the wall. Check the rubber seal and make sure that it is in place.
Step #10:
Install the new breaker for the sconce light into the electrical panel following the manufacturer’s instructions. Switch the breaker on and test your newly installed outdoor wall sconce.


