Free Ground Shipping on Orders Over $49 Details & Exclusions Excludes Curb Side Delivery (LTL). Lower 48 United States Only.
Feb 16, 2016
How-To: Read Blueprints & Optimize Ceiling Lights
If you have built a new home or have undergone a major home renovation, you know how difficult reading blueprints can be. If you are just starting your new home build or reno, don’t be disheartened with all the construction jargon. We are breaking down and identifying the key items needed to read your blueprints and optimize your lighting plan to avoid costly mistakes.
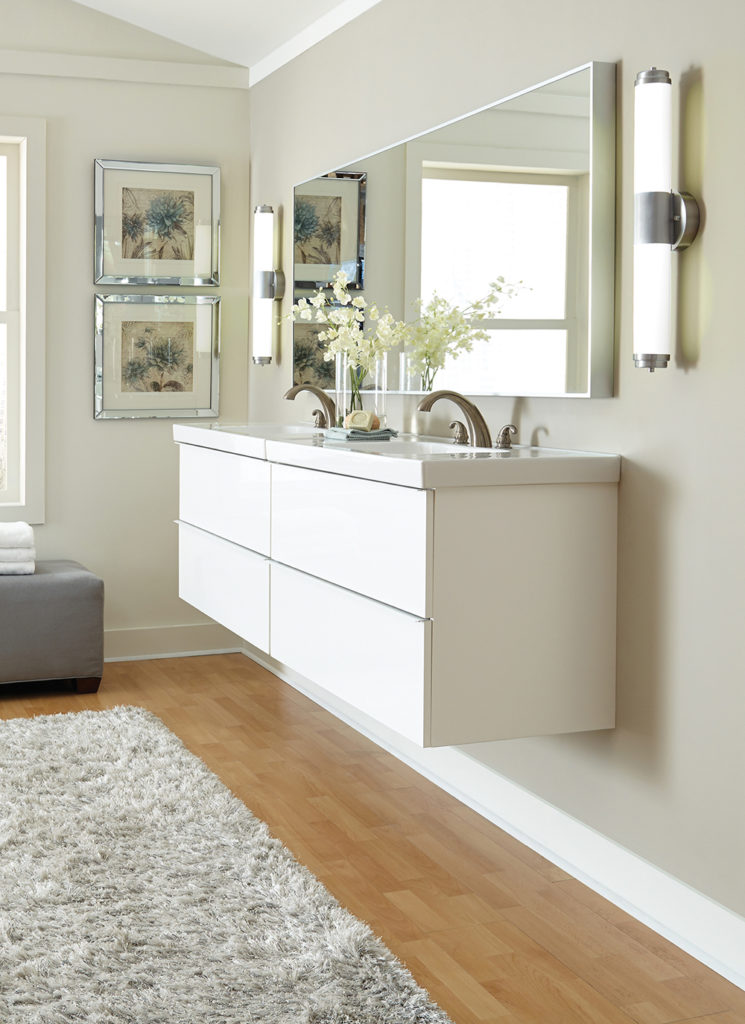 Featured: Sea Gull Valverde Vanity Light
Key Features to Consider
- Skylights: If you have skylights, know where they are. This is important because they become black holes at night and you will need to put light around them.
- Elevation Plans: Know your ceiling heights. The standard 8-foot ceilings are still the norm, however, in newer construction 10-, 12- and 14-foot high ceilings are more popular. The higher the fixture, the more light dissipates.
- Sloped Ceilings: Require special recessed lighting and adjustable angles for rails.
- Windows: Know the location and sizes, and how you plan to light them at night. Also, take into account the amount of natural light streaming in during daylight hours.
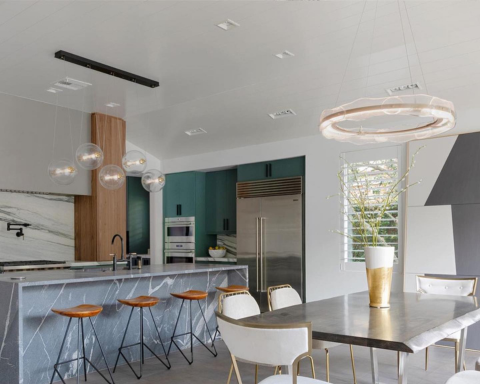
 Featured: ET2 Spiral Island Light
Know Your Space
To truly identify your lighting needs for the house, you’ll need to go room-by-room and answer these questions:
- What will be the primary usage for this room? A study, playroom or media room?
- Where will the furniture be placed?
- Will I be reading in here?
- Will there be paintings or artwork that require illumination?
- What are my personal preferences for the amount of ambient, accent, decorative and task lighting?
- Do I prefer brightly lit rooms or more subdued illumination?
Create A Plan
- Provide a detailed plan including fixtures and lighting controls room by room
- Familiarize yourself with the universal lighting symbols and letters. Some common symbols to know are:
- A circle symbolizes recessed lighting
- A circle with four lines at 90-degree angles outside the perimeter signals a junction box
- Two parallel lines attached to a triangle signifies track lighting
- AA designates a chandelier
- Each fixture on the blueprint should have a detailed description, picture, model number and light source (bulb)
Important Notes to Remember
- An electrician may not consider the type of fixture being installed. However, a chandelier weighing more than 50 pounds requires a special junction box to keep it secure in the ceiling. If you choose a fixture that weighs more than 50 pounds, it must be noted on the plans.
- Big decisions are made in the field, and you should always go to the job site after the house is framed or the reconfiguration has taken place to see exactly what was done and where the ceiling and wall lights are located.
- Make sure to visit the jobsite at three distinct phases of the project to ensure changes do not need to be made from the original plan:
- After a home is framed
- When the electrical work is finished, before the drywall is installed
- Before you move in
These key items should get you through your new home build or home reno with ease! Have additional questions? Let us know in the comments below!

